3D Engineering Design
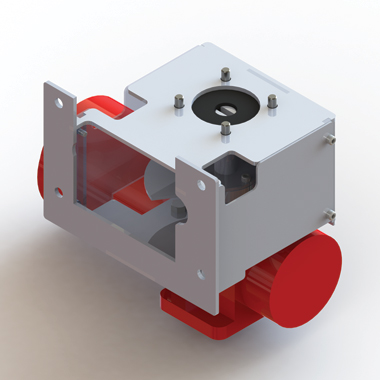
Solidworks CAD/CAM software offers enhanced design services to the customer, highlighting any issues relating to interference detection and clearance verification.
Running in conjunction with the Solidworks software is an in house developed automated design program that is able to produce production drawings with optimum efficiency.
- 3D Modelling
- Real Time Live Simulation
- Finite element analysis
- Stress calculations
CNC Precision Machining
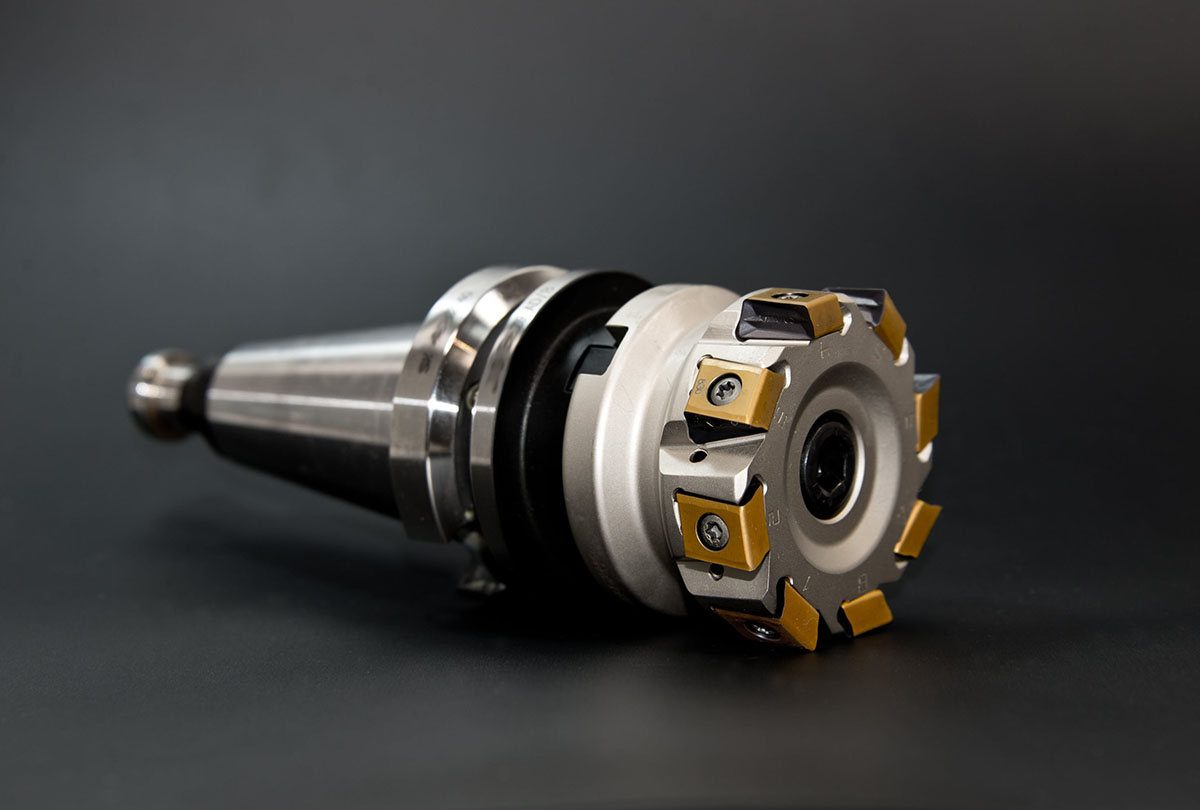
Our experienced manufacturing and inspection personnel utilise the latest state of the art CNC machinery including 4th axis technology teamed with full 3 dimensional computerised measuring equipment resulting in optimum accuracy and efficiency.
- State of the Art CNC 4 axis machining
- CNC Turning up to 1200mm diameter
- Vertical Machining centres
- Full CNC slotting
- CNC Turning centres with bar feed capabilities
- 3 dimensional computerised measuring
Laser Cutting
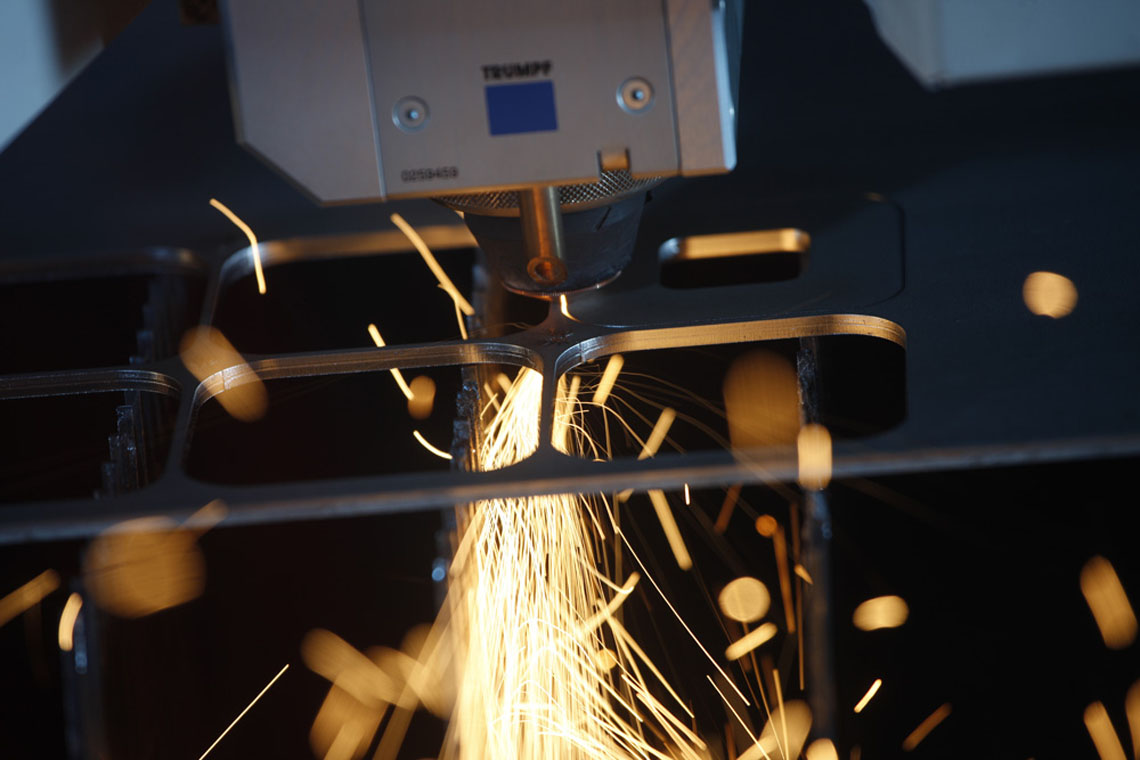
The latest state of the art fibre cutting technology allows us to produce components from a wide range of materials including but not limited to mild steel, stainless steel, aluminium, copper and brass.
- Mild Steel > 20mm thick
- Stainless Steel > 16mm thick
- Aluminium > 12mm thick
- Copper > 4mm thick
- Brass > 4mm thick

Laser Cutting & Folding
The latest state of the art fibre cutting technology allows us to produce components from a wide range of materials including but not limited to mild steel, stainless steel, aluminium, copper and brass.
- Mild Steel > 20mm thick
- Stainless Steel > 16mm thick
- Aluminium > 12mm thick
- Copper > 4mm thick
- Brass > 4mm thick
CNC Press Brake Technology
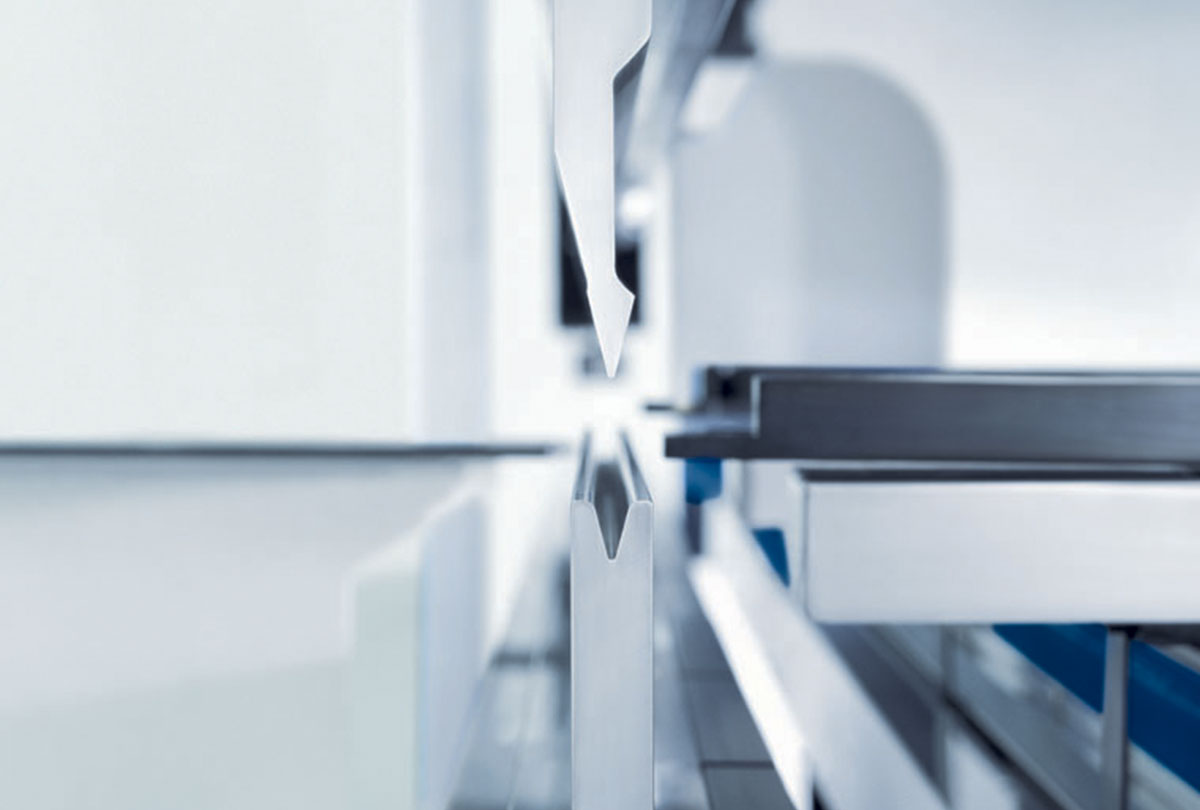
- Full CNC programming
- Folding capacity > 20mm thick
- Bespoke one offs – large volume orders

CNC Press Brake Technology
- Full CNC programming
- Folding capacity > 20mm thick
- Bespoke one offs – large volume orders
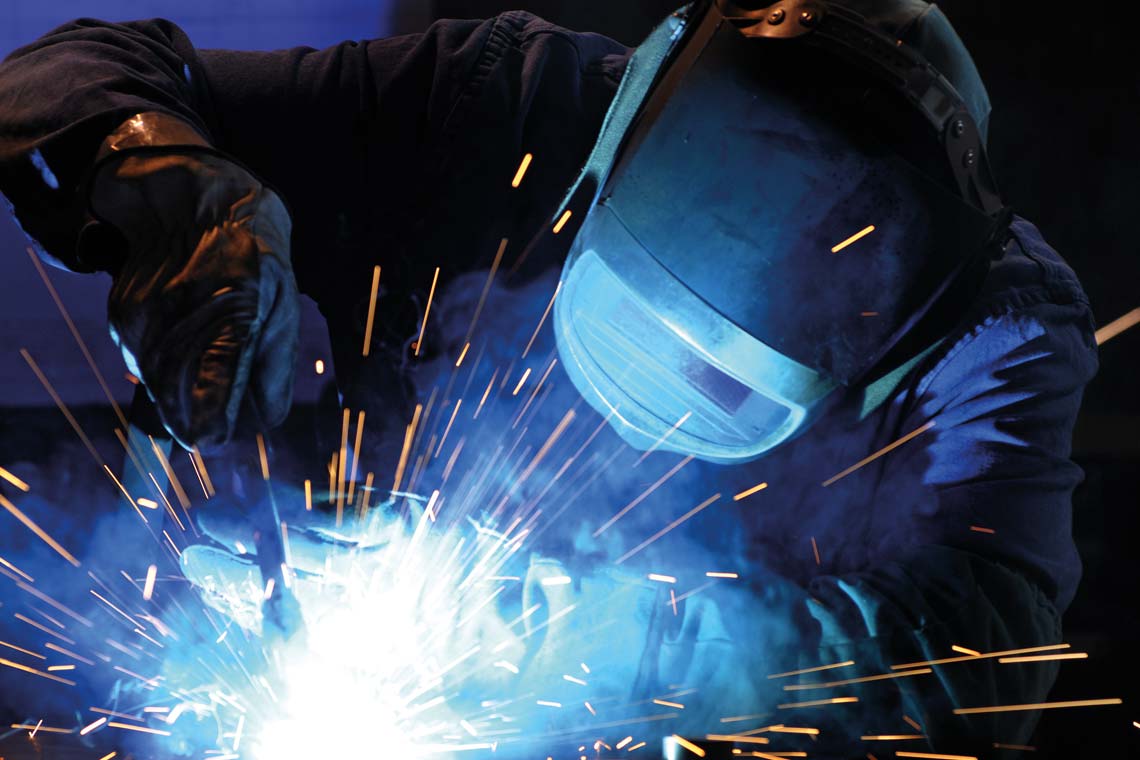
Welding and Fabrication
- 3 Axis CNC press brake
- MIG (Metal Inert Gas)
- TIG (Tungsten Inert Gas)
- Welding certified to ASME IX:2019 and BS EN ISO: 9606-1:2017
- NDT testing and reports available upon request

Welding and Fabrication
- 3 Axis CNC press brake
- MIG (Metal Inert Gas)
- TIG (Tungsten Inert Gas)
- Welding certified to ASME IX:2019 and BS EN ISO: 9606-1:2017
- NDT testing and reports available upon request
Coatings
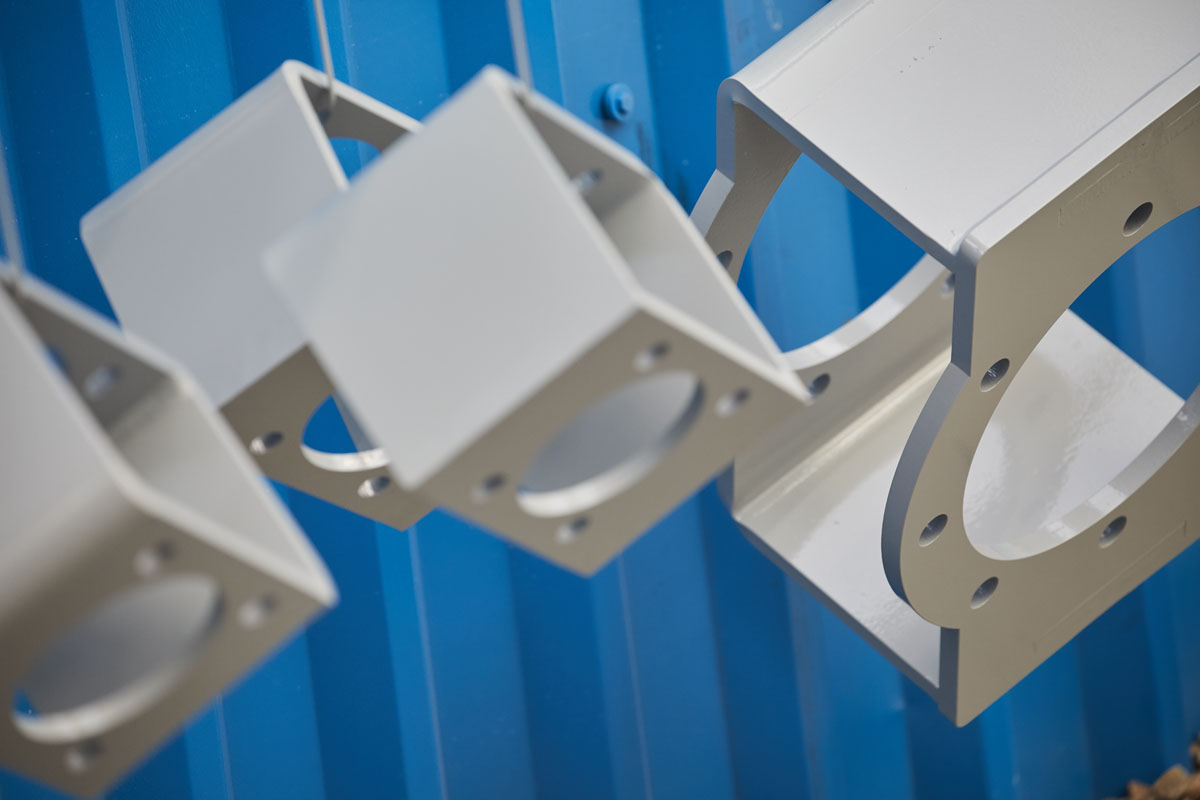
- Powder coating
- Enamel coating
- 2 Pack epoxy coating
- Zinc plating
- Galvanising
- Special off shore finish available upon request

Coatings
- Powder coating
- Enamel coating
- 2 Pack epoxy coating
- Zinc plating
- Galvanising
- Special off shore finish available upon request
Assemble & Test
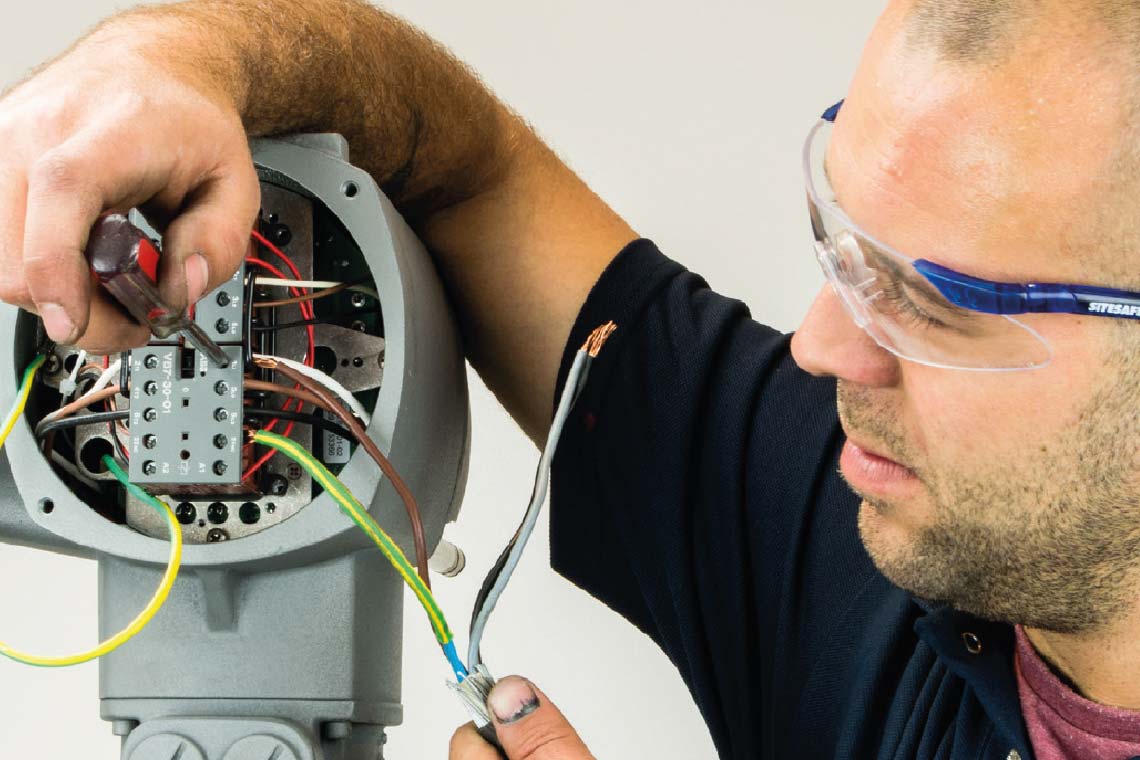
- Assembly of valve and actuator packages
- Electrical testing including 3 phase
- Pneumatic testing

Assemble & Test
- Assembly of valve and actuator packages
- Electrical testing including 3 phase
- Pneumatic testing
CMM Inspection
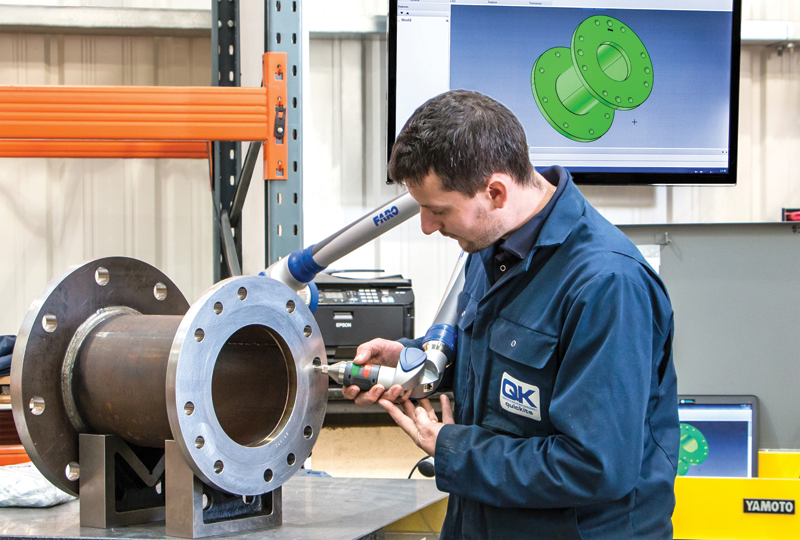
Using our 3D Faro Prime CMM (Co-ordinate Measuring Machine), we have met and surpassed customer requirements for detailed inspection reports.
Reverse engineering means critical measurements can be captured and compared to engineering data; instantly detecting any deviation in angles, distances, geometric and positional tolerances – easily inspected and benchmarked against pre-determined tolerances.
- 6 axis measuring arm
- Measuring accuracy of +/- 0.059mm
- Component measurement up to 3 Cubic Metres
- 3D modelling of components

